# Getting Webcam input in HTML5 page
With HTML5 things have become very easy, we get many platform APIs in javascript which were previously not available. Earlier we made use of Flask with action script to achieve a lot of it.
## HTML Scaffold for our Application
We will design a simple HTML5 application (webpage) which will get the webcam input and play it in a video tag. To get started, lets make the scaffold HTML elements.
```html
Webcam App
```
We have made a simple HTML page, it has container - which we will use to style the application better. It has a `video` tag which we will use to display the webcam stream. And it has two buttons `start` and `stop` which we will use to start or stop the stream.
## Basic CSS styles
Let's add some basic styling to the application. Make a `style` tag and add the following in it.
```css
.container {
// make it smaller and centered horizontally
margin: 0px auto;
width: 500px;
}
video {
width: 500px;
height: 375px;
background-color: #666;
}
button{
// make buttons look nicer
background: #eee;
color: #333;
border: 0;
padding: 10px;
}
#start{
// make start button a bit different
background-color:#3498db;
color: #fff;
}
```
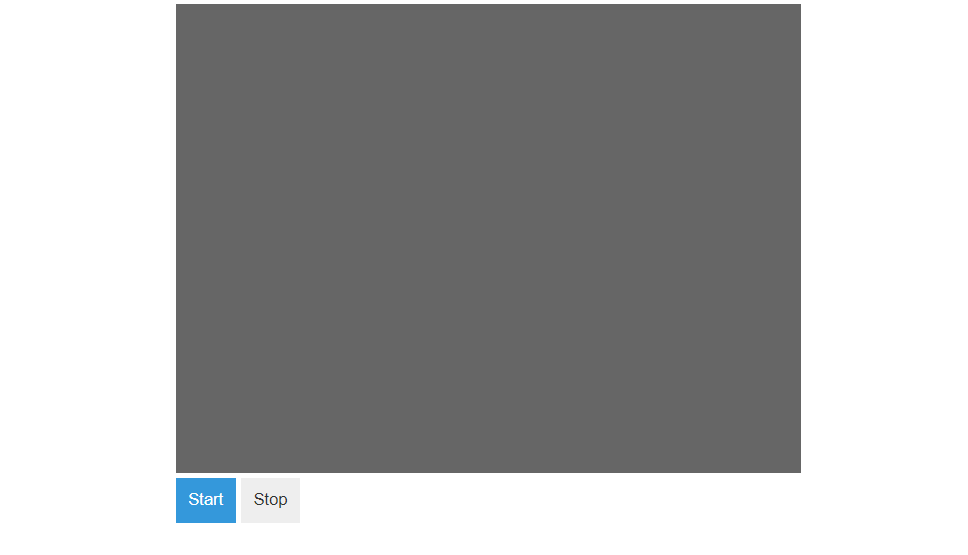
Now, we should have a nice looking UI for our webcam stream viewer application -
## The JS code
Next, we add the js code. Specifically, we define the functions `startVideo()` and `stopVideo()` which will respectively start and stop the webcam stream. Add the following in the script tag.
```js
var video = document.querySelector("#videoElement");
function startVideo(){
// check if there is a webcam device present
if (navigator.mediaDevices.getUserMedia) {
// try getting the user media stream
navigator.mediaDevices.getUserMedia({ video: true })
.then(function (stream) {
// we got stream, lets set the src to the stream
video.srcObject = stream;
})
.catch(function (e) {
console.log("Something went wrong! " + e);
});
}
}
function stopVideo(){
// get the currently playing tracks and stop all the tracks.
var stream = video.srcObject;
var tracks = stream.getTracks();
for (var i = 0; i < tracks.length; i++) {
var track = tracks[i];
track.stop();
}
video.srcObject = null;
}
```
## Trying it out
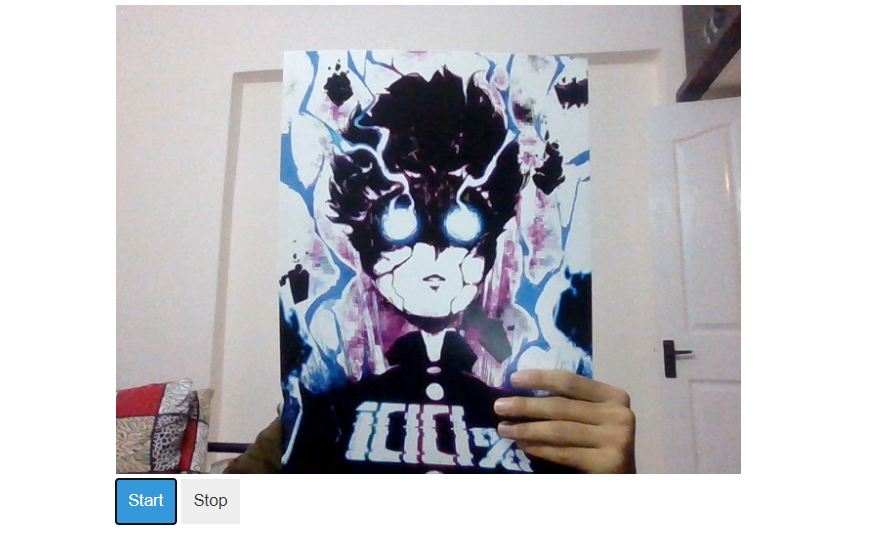
When we click on the start button, the browser will ask the user - permission to use the webcam. The application will work only when the user allows the use of the webcam.
When the user allows the use, we should see the stream on the video tag.